

How music syncing works
Finding albums on your platforms
After connecting a music platform, we’ll import all of your albums from it. After that, we’ll sync with it nightly
to add new albums and remove any you’ve deleted.
Adding albums to your website
When a new album is found on a platform, we’ll try to match it to an existing album on your site by UPC, name, and
release date. If we can’t, we’ll create a new album.
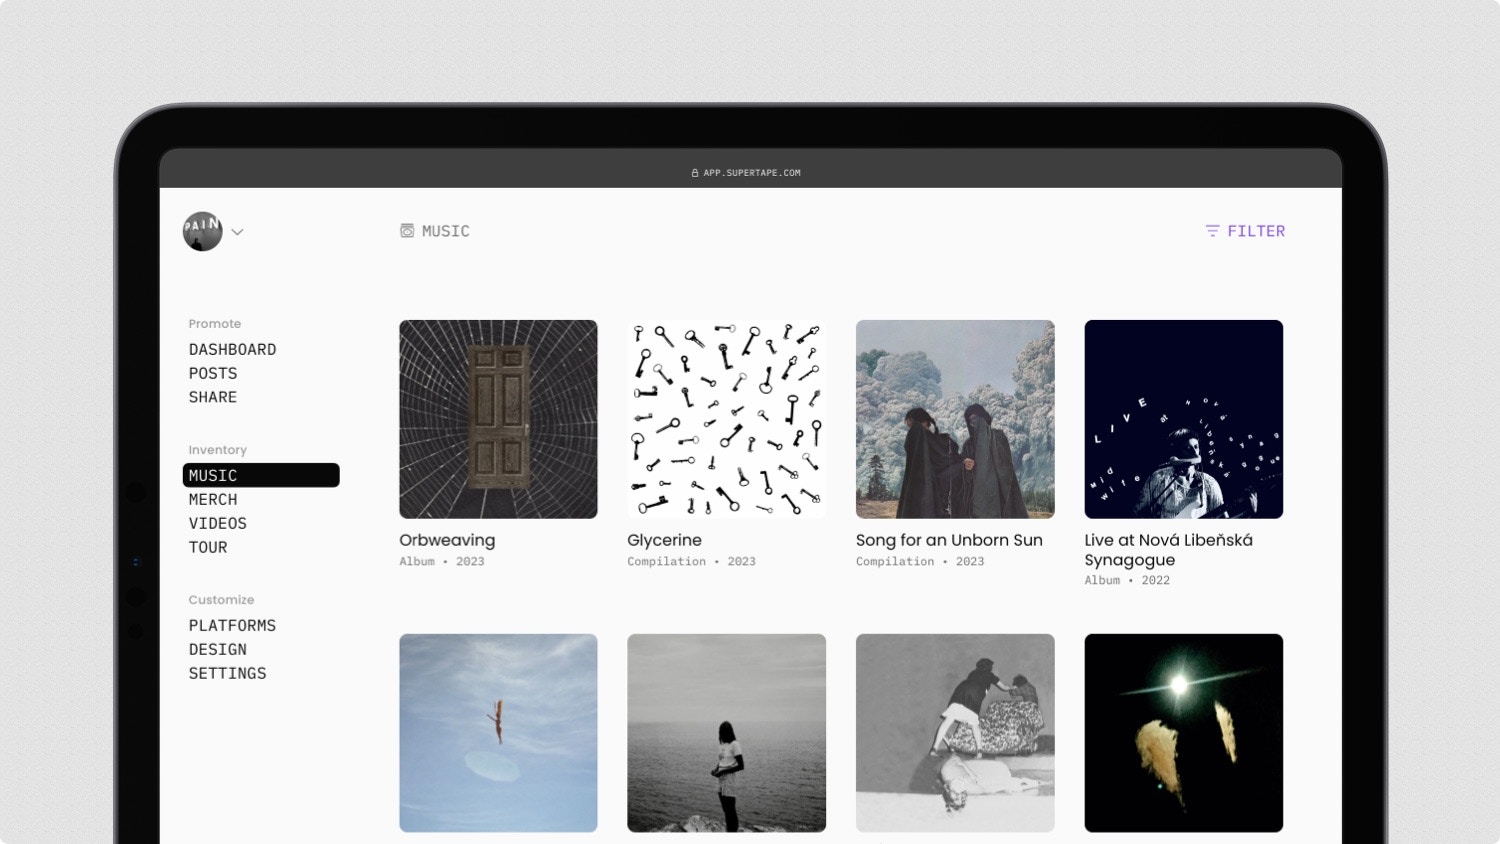
Reviewing your music
Sometimes the details we get from a platform may be a little off, or may be wrong entirely. So it’s always a good idea to review your albums to make sure everything looks good.- Image - The album’s cover artwork. Should be square and high resolution.
- Name - The album’s title. Keep it formatted exactly as it appears on platforms.
- URL slug - The unique part of the album’s URL. ex:
/music/your-album - Type - The type of album it is (Album, EP, Single, etc.).
- Tracks - The number of tracks on the album.
- Duration - The length of the album.
- Release date - The date the album was released.
- UPC - The Universal Product Code for the album. Important for matching.
- Info - The album’s description, credits, lyrics, or any other information you’d like to share.
- Products - The physical versions of the album from your Merch catalog.
- Platforms - The Platforms where fans can listen to the album.
Reordering your music
By default we order your albums by release date, but you can manually reorder them as well.- Visit Music and select Edit in the top right.
- Drag the handle of any album into the desired order.
- Hit Save.
Sharing an album
Share your album’s smart link with fans, so they can listen on their favorite platform:- Visit Music and find the album you’d like to share.
- Select Share from the top right and then hit Copy to copy the link to your clipboard.
- Share the link on social media, in email campaigns, ads, or anywhere else.
- Visit Music and find the album you’d like to share.
- Scroll to Platforms, find the platform, hit the three dots and Share.
- Copy the link and share it on social media, in email campaigns, ads, or anywhere else.
Posting an album
Bring your album front and center to fans visiting your site by posting it to your homepage:- Visit Music and find the album you’d like to post.
- Select Post from the top right.
- Add a short message, optionally change the image, and hit Save.
Editing an album
Edit your album’s details:- Visit Music and find the album you’d like to edit.
- Select Edit from the top right.
- Make your changes and hit Save.
- Visit Merch and find the product you’d like to add, remove, or edit.
- Select Edit from the top right.
- Make your changes, including changing its Album, and hit Save.
- Visit Music and find the album you’d like to edit.
- Scroll to the Platforms section, find the platform, hit the three dots and then Edit.
- Assign the platform to a different album, or have a new one added, and hit Save.
Hiding an album
If there’s an album you don’t want to show on your site, you can hide it:- Visit Music and find the album you’d like to hide.
- Select Hide from the top right.
Unhiding an album
Bring a hidden album back onto your site at any time:- Visit Music and hit Filter in the top right.
- Select Hidden from the Status dropdown.
- Select the album you’d like to unhide and hit Unhide in the top right.